Mukti
Mukti - Gua Sha
Mukti - Gua Sha
Hurry! Only 1 Left In Stock
Couldn't load pickup availability
- Description
- Instructions
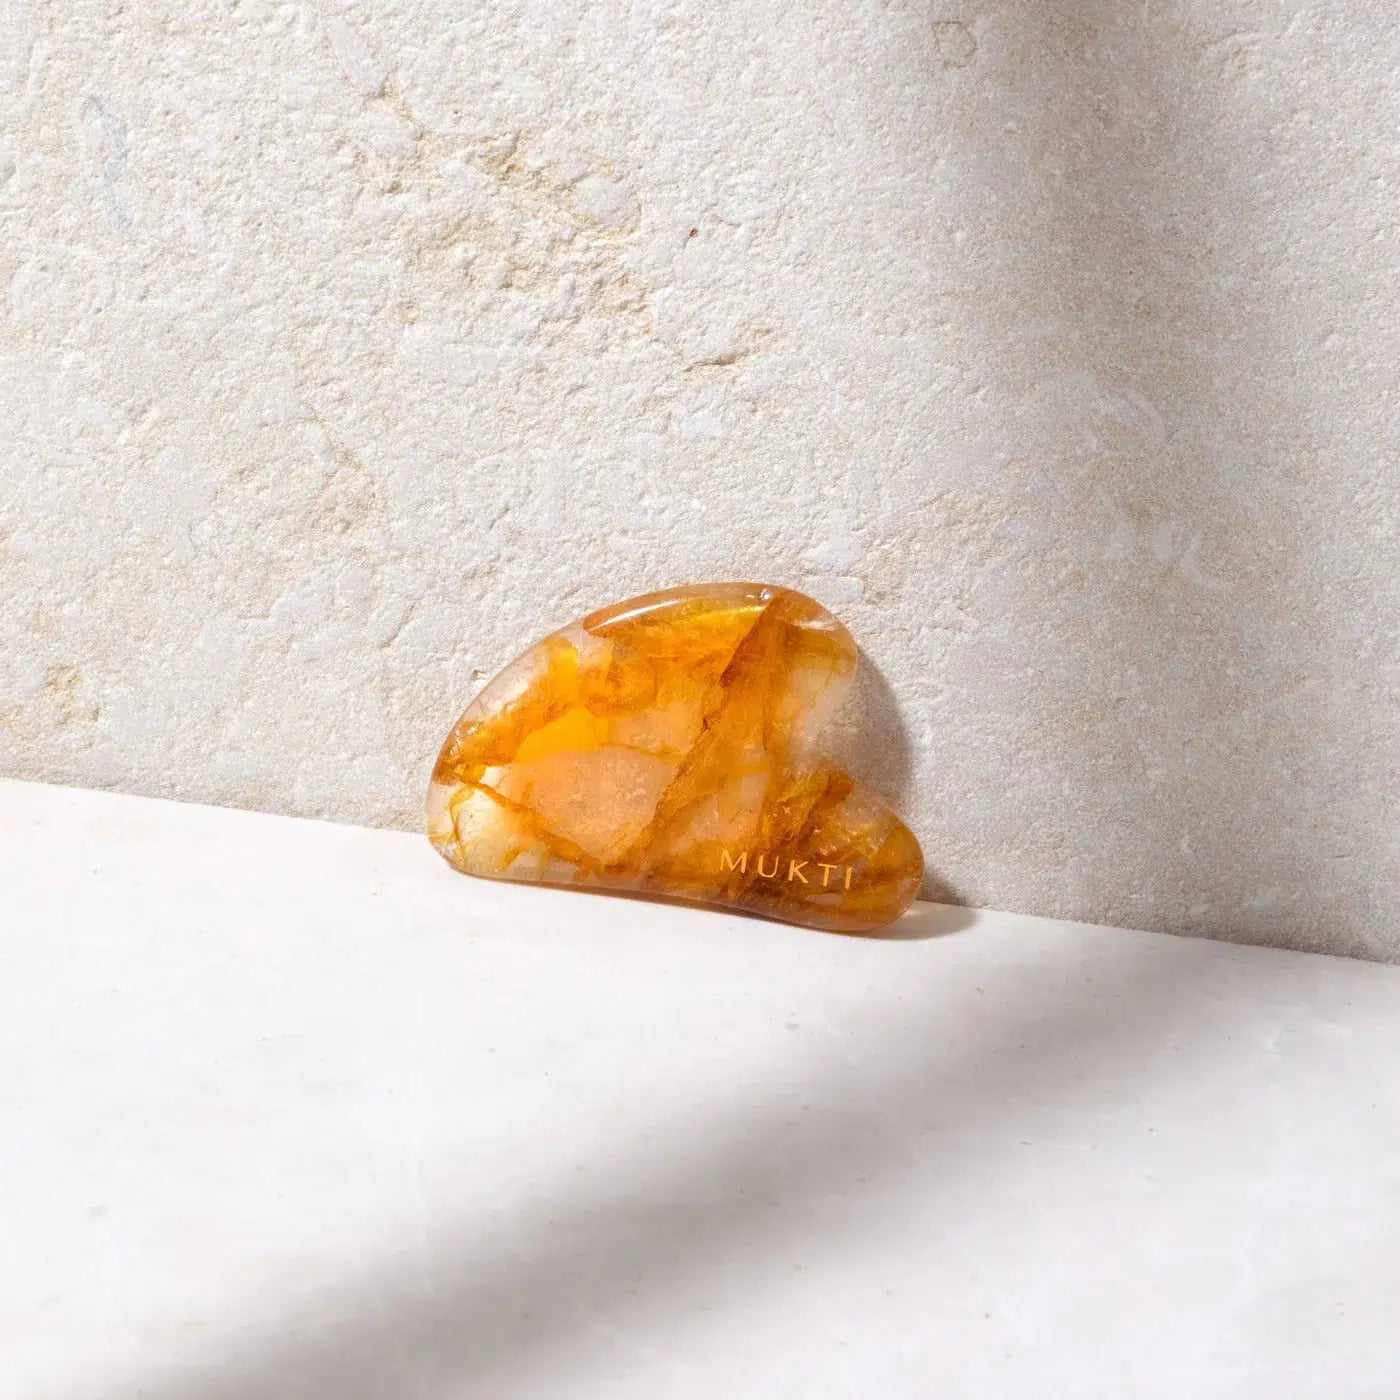
Our customised facial Gua Sha tool is designed to lift, sculpt, tone, and puffiness.
Unlike other gua sha stones made from quartz, the Bian stone, composition is an amalgamate of 40+ minerals known for their healing properties.
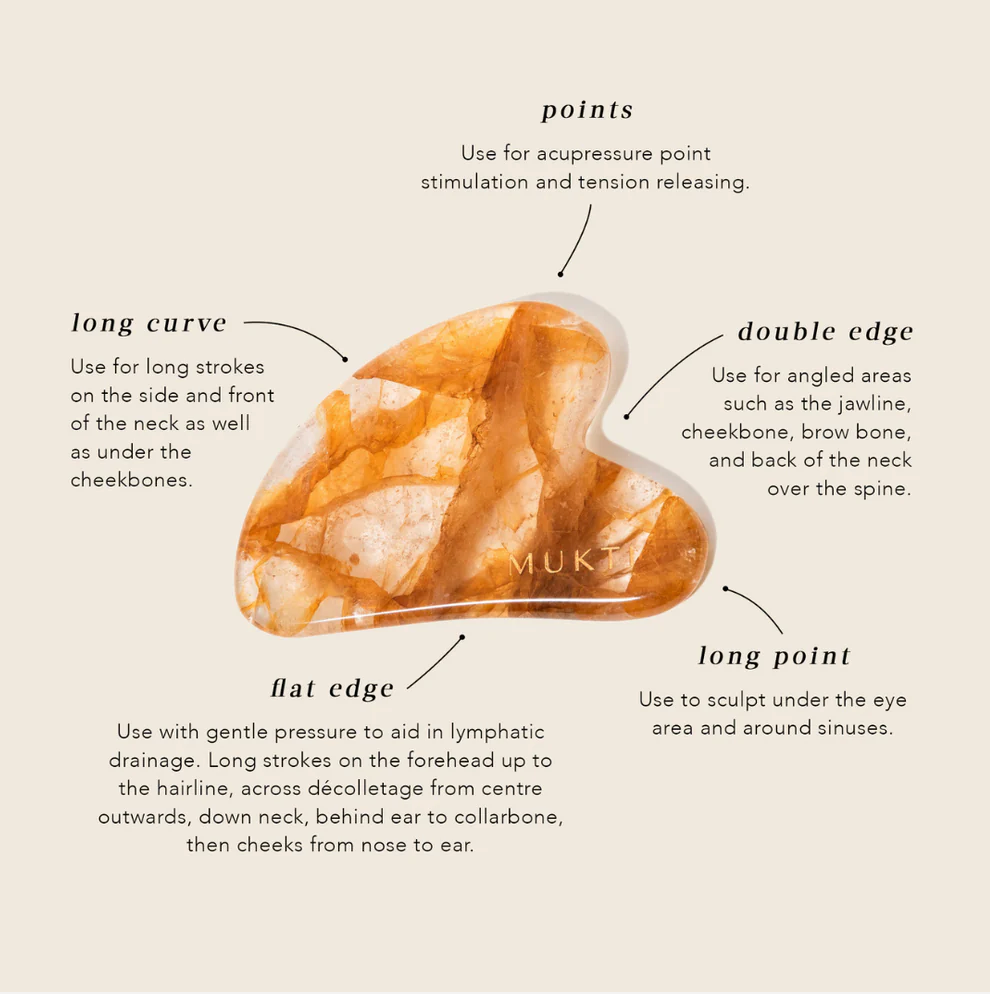
Each edge of the tool has its own unique finish to assist with achieving the full range of benefits of a facial massage including relieving muscle tension, reducing inflammation, and increasing circulation.
We recommend protecting this stone with our Mukti linen bag as this natural stone is fragile when dropped on a hard surface.
Benefits
Firming, Firm, Improve firmness, Maintain skin elasticity, Smooth fine lines
Skin Type
All Skin Types
After cleansing, apply Antioxidant Facial Oil to the face, neck and décolletage.
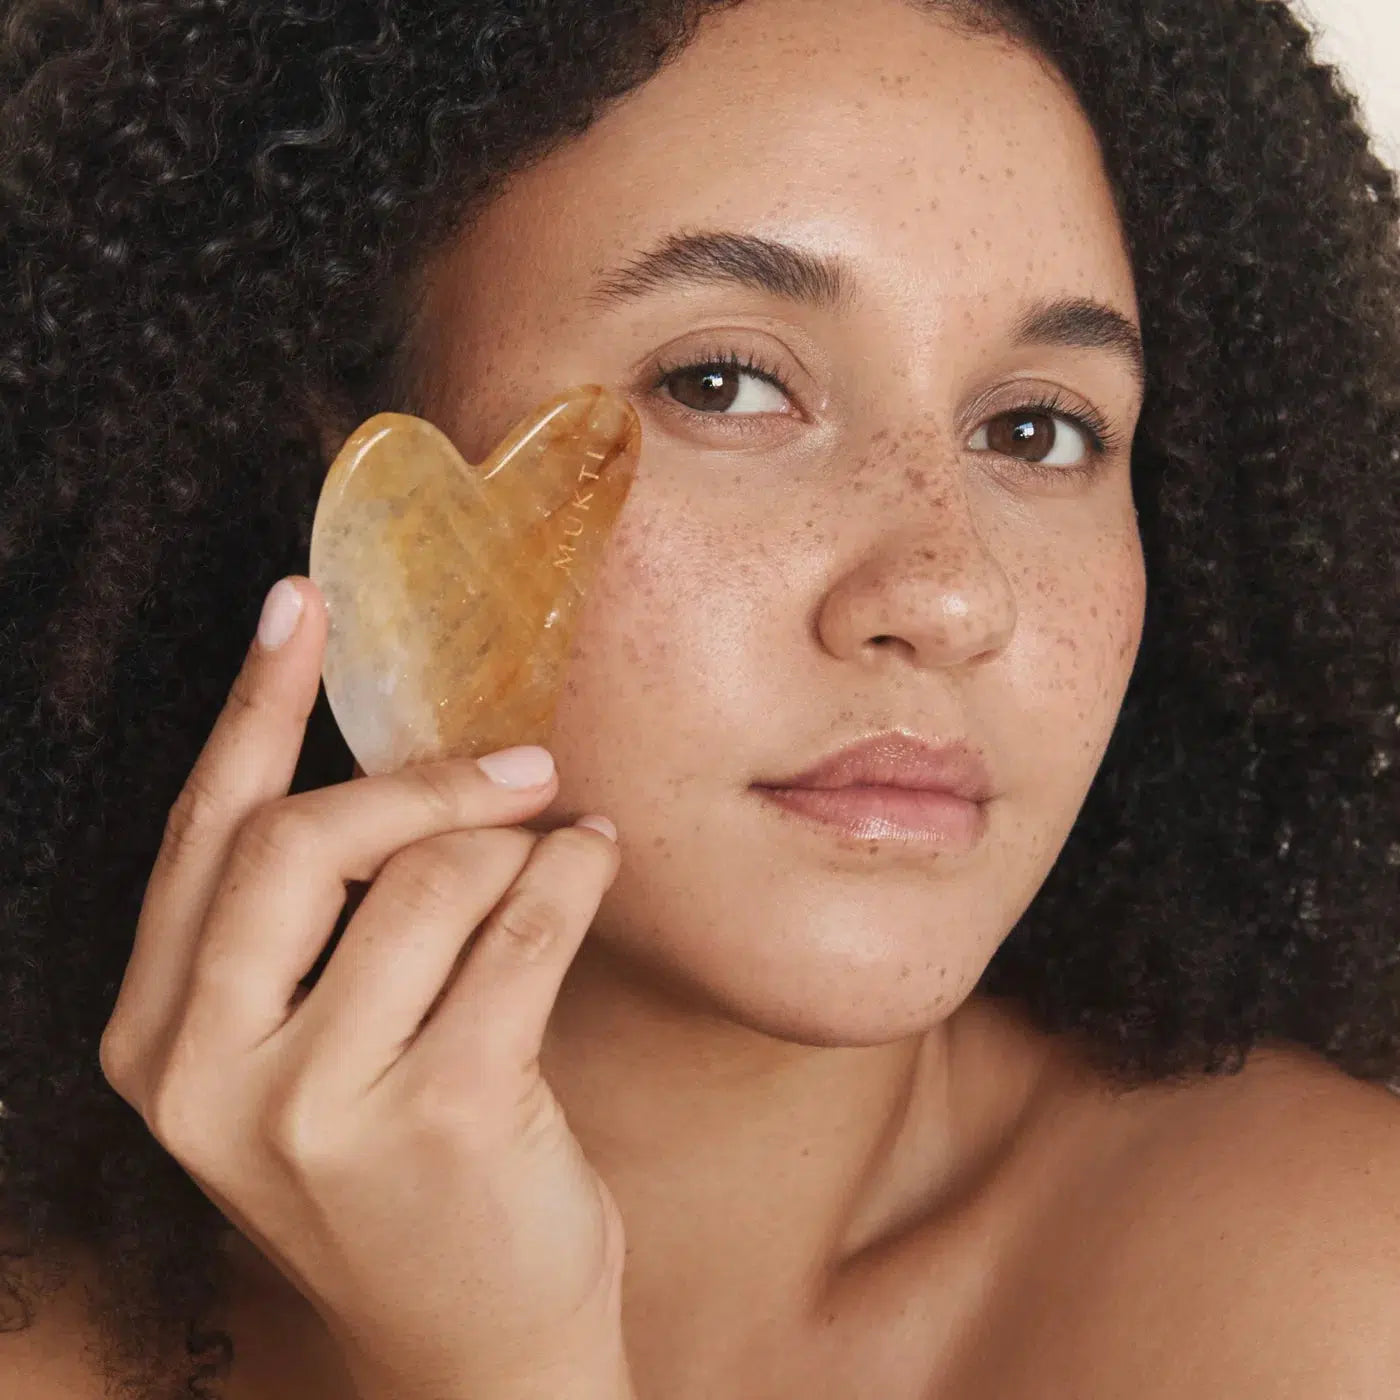
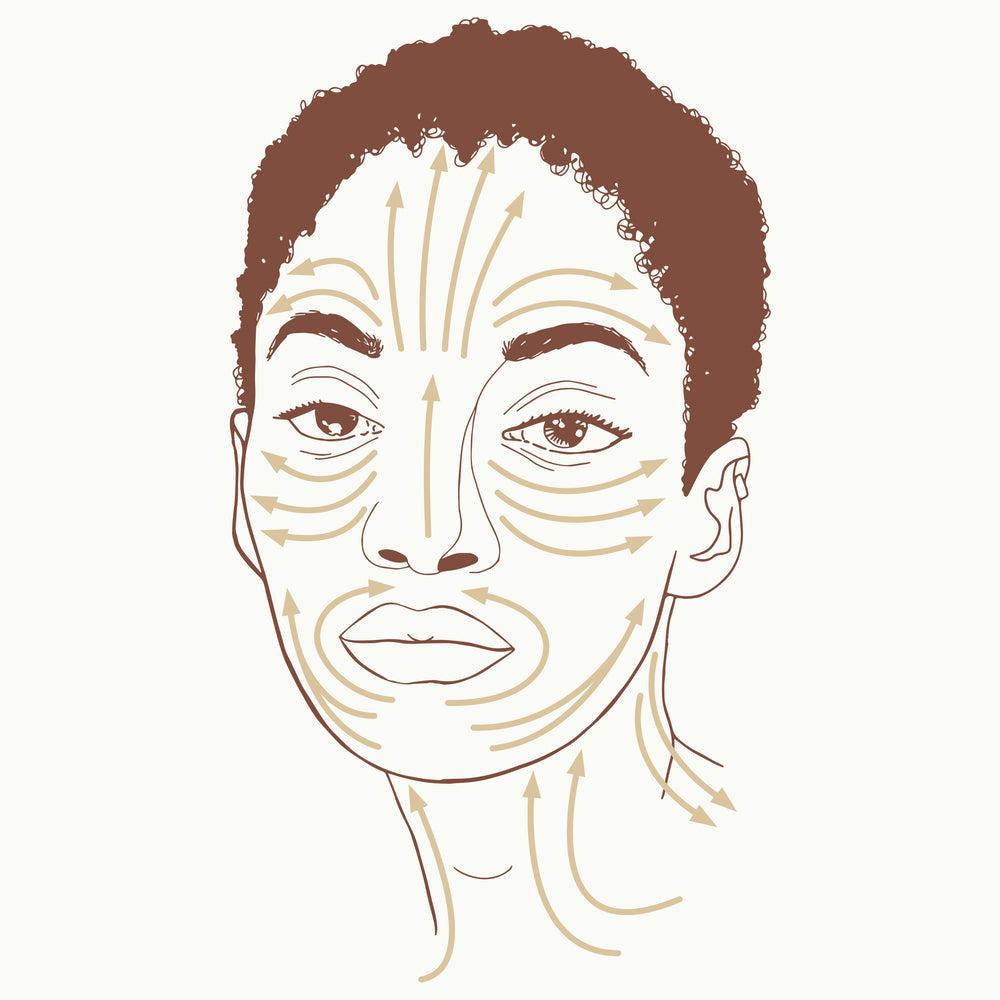
Hold the Gua Sha at a 45-degree angle from the skin and massage in an upwards direction away from the centre of the face.
Repeat each section 2-3 times and finish by massaging in downward strokes from the temples to the base of the neck. See detailed instructions below:
Step 1: Cleanse your face
Before using the Gua Sha, make sure your face is clean and free of makeup by cleansing. Pair your cleanser with our Bamboo Terry Cleansing Mitt for an extra-thorough cleanse.
Step 2: Apply facial oil or serum
Next, apply a few drops of our Antioxidant Facial Oil or your favourite serum to your skin. This will help the Gua Sha glide smoothly over your skin and prevent any friction or irritation.
Step 3: Hold the Gua Sha at the right angle
When using the Gua Sha tool, it's important to hold it at a 15-30 degree angle to your skin. This ensures that you're using the edge of the tool to apply gentle pressure to the skin, which can help stimulate circulation and promote lymphatic drainage. Be sure to use light pressure and avoid applying too much force, which can cause discomfort or irritation.
Step 4: Start with the neck and décolletage
Begin by using the long curved edge of the Gua Sha to gently scrape along the contours of your neck and décolletage. Use upward strokes and light pressure, moving from the base of your neck up towards your chin and jawline.
Step 5: Move on to the jawline and cheeks
Next, use the flat edge of the Gua Sha to gently scrape along your jawline and cheeks. Start at the center of your chin and move outward towards your ears, using light pressure and upward strokes. Repeat on the other side.
Step 6: Use the small curves for the eye area
For the delicate skin around your eyes, use the short edge of the Gua Sha to gently scrape from the inner corner of your eye outwards. Be very gentle and use light pressure, avoiding the eye itself.
Step 7: Use the double edge for the neck and jawline
Use the double edge, which looks like a U shape, to run down the sides of the jawline and neck, and any other angled areas.
Step 8: Move on to the forehead
Finally, use the long edge of the Gua Sha to gently scrape along your forehead, starting at the center and moving outwards towards your hairline. Use light pressure and upward strokes.
Step 9: Massage in downward strokes
Using the flat edge, gently massage your skin in a downward motion from temples to the base of your neck. This can help stimulate blood flow and lymphatic drainage, while also helping to distribute your facial products evenly across your skin.
Step 10: Finish with a moisturiser or night cream
After using the Gua Sha, finish with a moisturiser or night cream to help lock in moisture and provide extra nourishment to your skin.
Step 11: Cleanse the Gua Sha
After using the Gua Sha, be sure to clean it thoroughly with soap and water or a gentle cleanser. Dry it with a soft cloth and store it in a cool, dry place.
